Syncthing Dokuwiki Example
Note
This tutorial requires the usage of LoadBalancer to expose applications from within the cluster. If you are running a KIND cluster, please follow this guide to install metallb if you haven’t already: https://kind.sigs.k8s.io/docs/user/loadbalancer/
In this example, we will demonstrate how Syncthing can be used to maintain a synchronized volume across several Dokuwiki application instances.
First, create a namespace for the Dokuwiki application and launch the required resources:
kubectl create ns dokuwiki-east
kubectl apply -f examples/dokuwiki/ -n dokuwiki-east
Ensure that we can access the dokuwiki application by obtaining the external IP address:
$ kubectl get service -n dokuwiki-east dokuwiki-service
NAME               TYPE           CLUSTER-IP      EXTERNAL-IP      PORT(S)          AGE
dokuwiki-service   LoadBalancer   10.96.231.229   172.18.255.200   5196:30113/TCP   16m
Open your browser and navigate to the value in your EXTERNAL-IP field, in our case it is 172.18.255.200:5196.
This should take you to the front-end for the Dokuwiki application. You’ll be able to create new wiki pages here, as well as edit existing ones.
Once opened, you should see a page like this:

Now let’s populate our DokuWiki with its first page, and what better subject to talk about then the Syncthing data mover?
Create a new page on the DokuWiki website with the following contents:
Syncthing is a data mover that allows you to synchronize your data across multiple devices.
It's an awesome tool that you should try out if you haven't already.
Now let’s create a Syncthing-based ReplicationSource to synchronize the data within our DokuWiki PVC:
$ kubectl apply -f examples/syncthing/replicationsource_empty.yaml -n dokuwiki-east
replicationsource.volsync.backube/sync-dokuwiki created
Let’s retrieve our ReplicationSource’s Syncthing information once it becomes available:
$ kubectl get replicationsource -n dokuwiki-east sync-dokuwiki \
  -o jsonpath='{.status.syncthing}' -w
{"ID":"TMBYRB4-EIINYAW-ZFBX4LV-7FE37NT-BLQPSKB-P2BFIPW-QW6ST3C-PSU7UQD","address":"tcp://10.96.217.239:22000"}
Once the above data becomes available, let’s save the Syncthing ID and address as an environment variable in our shell so that we can reuse it later.
export SYNCTHING_EAST_ID=$(kubectl get replicationsource -n dokuwiki-east sync-dokuwiki -o jsonpath='{.status.syncthing.ID}')
export SYNCTHING_EAST_ADDRESS=$(kubectl get replicationsource -n dokuwiki-east sync-dokuwiki -o jsonpath='{.status.syncthing.address}')
Now that dokuwiki-east is all configured, let’s create two other namespaces with their own DokuWiki applications: dokuwiki-west and dokuwiki-central.
kubectl create ns dokuwiki-west
kubectl create ns dokuwiki-central
We’ll launch a DokuWiki application in each namespace:
kubectl apply -f examples/dokuwiki/ -n dokuwiki-west
kubectl apply -f examples/dokuwiki/ -n dokuwiki-central
These can now be accessed through their own respective external IP addresses:
dokuwiki-west$ kubectl get service -n dokuwiki-west dokuwiki-service
NAME TYPE CLUSTER-IP EXTERNAL-IP PORT(S) AGE
dokuwiki-service LoadBalancer 10.96.142.135 172.18.255.202 5196:32364/TCP 114s
dokuwiki-central$ kubectl get service -n dokuwiki-central dokuwiki-service
NAME TYPE CLUSTER-IP EXTERNAL-IP PORT(S) AGE
dokuwiki-service LoadBalancer 10.96.254.251 172.18.255.203 5196:31687/TCP 2m32s
Go ahead and open both of these up in their own respective tabs.
You should see empty pages for both dokuwiki-west and dokuwiki-central.
Let’s change this by creating Syncthing-based ReplicationSources in each of these namespaces,
and configuring them to use dokuwiki-east as their introducer node.
Using the information that we obtained from the ReplicationSource in dokuwiki-east earlier,
create a ReplicationSource with the following contents and apply it in each namespace:
dokuwiki-east as an introducerfor ns in dokuwiki-west dokuwiki-central; do
cat <<EOF | kubectl apply -n "${ns}" -f -
kind: ReplicationSource
apiVersion: volsync.backube/v1alpha1
metadata:
name: sync-dokuwiki
spec:
sourcePVC: dokuwiki-pvc
syncthing:
serviceType: ClusterIP
peers:
- ID: ${SYNCTHING_EAST_ID}
address: ${SYNCTHING_EAST_ADDRESS}
introducer: true
EOF
done
This will create Syncthing-based ReplicationSources in both namespaces configured to sync the PVC which stores DokuWiki’s data.
These ReplicationSources will be configured to use dokuwiki-east as their introducer node.
To complete the process, we must add dokuwiki-west and dokuwiki-central as peers into the dokuwiki-east ReplicationSource.
Since both dokuwiki-west and dokuwiki-central are now configured to use dokuwiki-east as their introducer node,
we will not have to do any extra work to get these two connected with each other.
First, let’s save the Syncthing information of dokuwiki-west and dokuwiki-central:
Wait until the Syncthing information is available in dokuwiki-west, then save it into the respective variables:
$ kubectl get replicationsource -n dokuwiki-west sync-dokuwiki -o jsonpath='{.status.syncthing}' -w
$ export SYNCTHING_WEST_ID=$(kubectl get replicationsource -n dokuwiki-west sync-dokuwiki -o jsonpath='{.status.syncthing.ID}')
$ export SYNCTHING_WEST_ADDRESS=$(kubectl get replicationsource -n dokuwiki-west sync-dokuwiki -o jsonpath='{.status.syncthing.address}')
Now repeat the same process for dokuwiki-central:
$ kubectl get replicationsource -n dokuwiki-central sync-dokuwiki -o jsonpath='{.status.syncthing}' -w
$ export SYNCTHING_CENTRAL_ID=$(kubectl get replicationsource -n dokuwiki-central sync-dokuwiki -o jsonpath='{.status.syncthing.ID}')
$ export SYNCTHING_CENTRAL_ADDRESS=$(kubectl get replicationsource -n dokuwiki-central sync-dokuwiki -o jsonpath='{.status.syncthing.address}')
Now that we have the Syncthing information of both namespaces, let’s add them as peers to the dokuwiki-east ReplicationSource:
cat <<EOF | kubectl apply -n dokuwiki-east -f -
kind: ReplicationSource
apiVersion: volsync.backube/v1alpha1
metadata:
  name: sync-dokuwiki
spec:
  sourcePVC: dokuwiki-pvc
  syncthing:
    serviceType: ClusterIP
    peers:
    - ID: $SYNCTHING_CENTRAL_ID
      address: $SYNCTHING_CENTRAL_ADDRESS
      introducer: false
    - ID: $SYNCTHING_WEST_ID
      address: $SYNCTHING_WEST_ADDRESS
      introducer: false
EOF
Once this configures, we’ll see that dokuwiki-east is now connected to both dokuwiki-west and dokuwiki-central:
dokuwiki-east$ kubectl get replicationsource sync-dokuwiki -n dokuwiki-east -o jsonpath='{.status.syncthing.peers}' | jq
[
{
"ID": "LMZRG5Y-TPMJ3EW-HJ4C7EQ-IK2JPCY-YHXDWLW-T7G3XIX-VCKB4F6-EQ5X2QI",
"address": "tcp://10.96.246.238:22000",
"connected": true,
"deviceName": "volsync-sync-dokuwiki-f59cd4b9c-r6f4c"
},
{
"ID": "MIOOI4E-5PWWT4F-QRRRSWG-PZAXB4I-E6STCCG-25TARPP-ONTUNLN-QFVQTAE",
"address": "tcp://10.244.0.27:22000",
"connected": true,
"deviceName": "volsync-sync-dokuwiki-f59cd4b9c-dhpjs"
}
]
We can also see that dokuwiki-central was introduced and connected to dokuwiki-west by dokuwiki-east:
dokuwiki-central$ kubectl get replicationsource sync-dokuwiki -n dokuwiki-central -o jsonpath='{.status.syncthing.peers}' | jq
[
{
"ID": "LMZRG5Y-TPMJ3EW-HJ4C7EQ-IK2JPCY-YHXDWLW-T7G3XIX-VCKB4F6-EQ5X2QI",
"address": "tcp://10.96.246.238:22000",
"connected": true,
"deviceName": "volsync-sync-dokuwiki-f59cd4b9c-r6f4c",
"introducedBy": "TMBYRB4-EIINYAW-ZFBX4LV-7FE37NT-BLQPSKB-P2BFIPW-QW6ST3C-PSU7UQD"
},
{
"ID": "TMBYRB4-EIINYAW-ZFBX4LV-7FE37NT-BLQPSKB-P2BFIPW-QW6ST3C-PSU7UQD",
"address": "tcp://10.96.217.239:22000",
"connected": true,
"deviceName": "volsync-sync-dokuwiki-f59cd4b9c-rhlxh"
}
]
Now, let’s get the external IPs to the dokuwiki-west and dokuwiki-central applications and
view them in our browser:
$ kubectl get svc -n dokuwiki-central dokuwiki-service
NAME               TYPE           CLUSTER-IP      EXTERNAL-IP      PORT(S)          AGE
dokuwiki-service   LoadBalancer   10.96.254.251   172.18.255.203   5196:31687/TCP   177m
$ kubectl get svc -n dokuwiki-west dokuwiki-service
NAME               TYPE           CLUSTER-IP      EXTERNAL-IP      PORT(S)          AGE
dokuwiki-service   LoadBalancer   10.96.142.135   172.18.255.202   5196:32364/TCP   177m
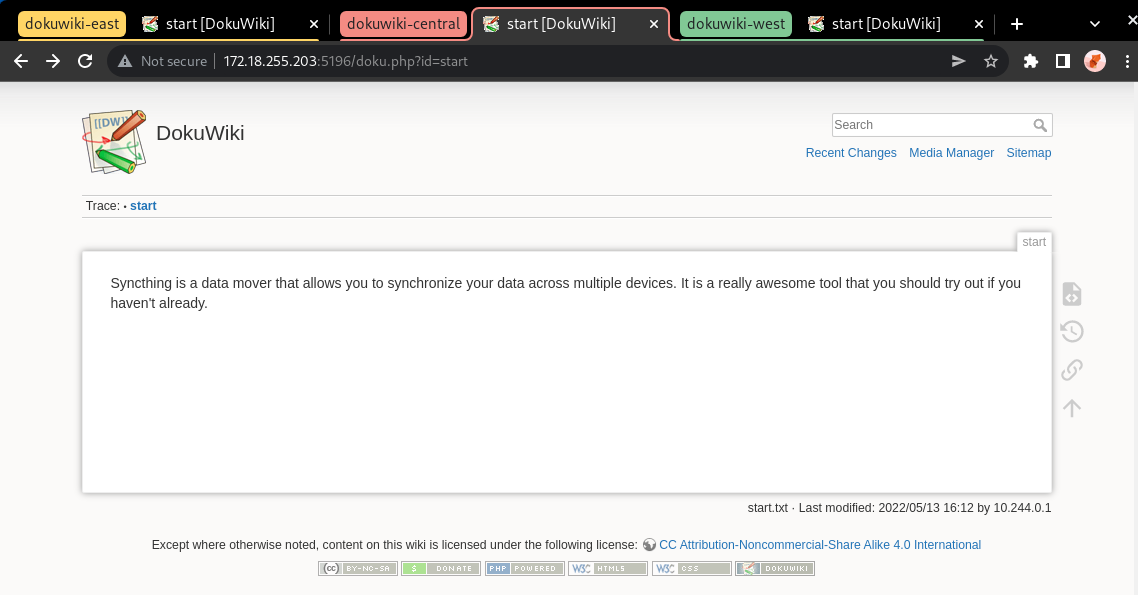
Here’s how the main DokuWiki website appears in the dokuwiki-central namespace:
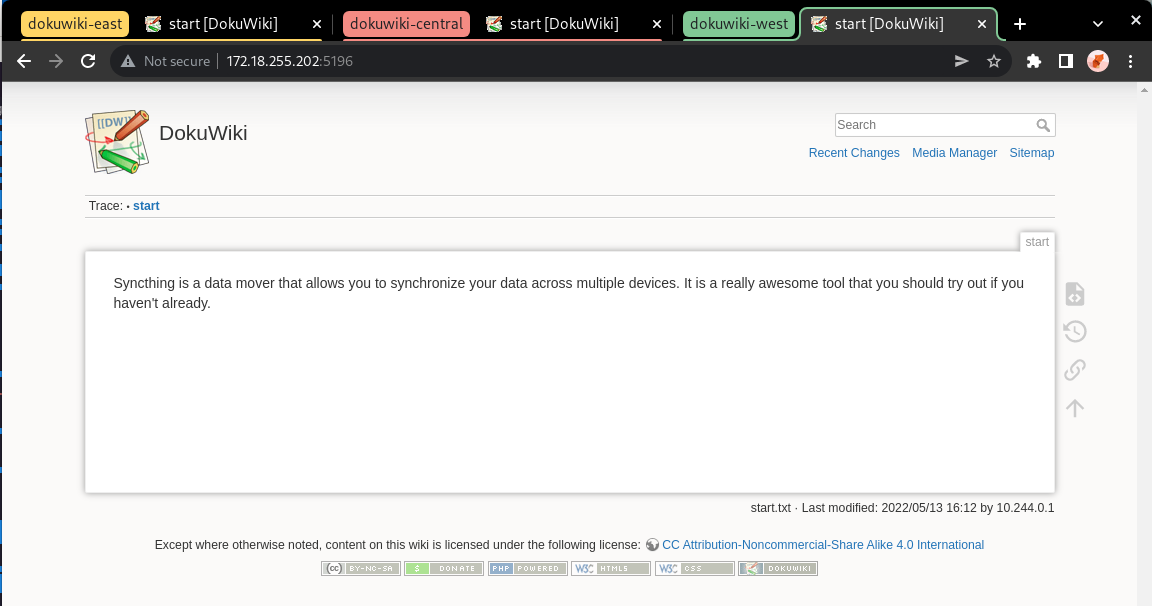
And here’s how it looks in the dokuwiki-west namespace:
Now let’s create a new page from the dokuwiki-west namespace,
click on the URL bar at the and append /dokuwiki-west to the end of the URL, like this:

This should present us with a new page containing the message: “this topic does not exist yet.”
Well let’s change that: click on the “Create this page” button and fill it with
the content of your choosing.
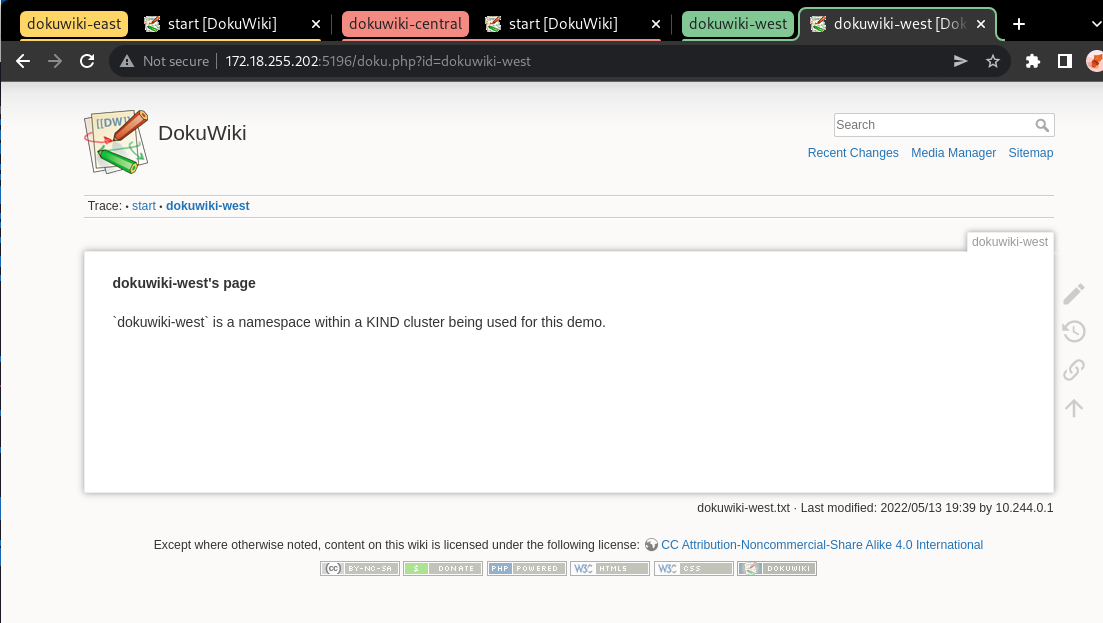
In our case, we’re going to make a page for our dokuwiki-west namespace.
Your end result should resemble something like this:
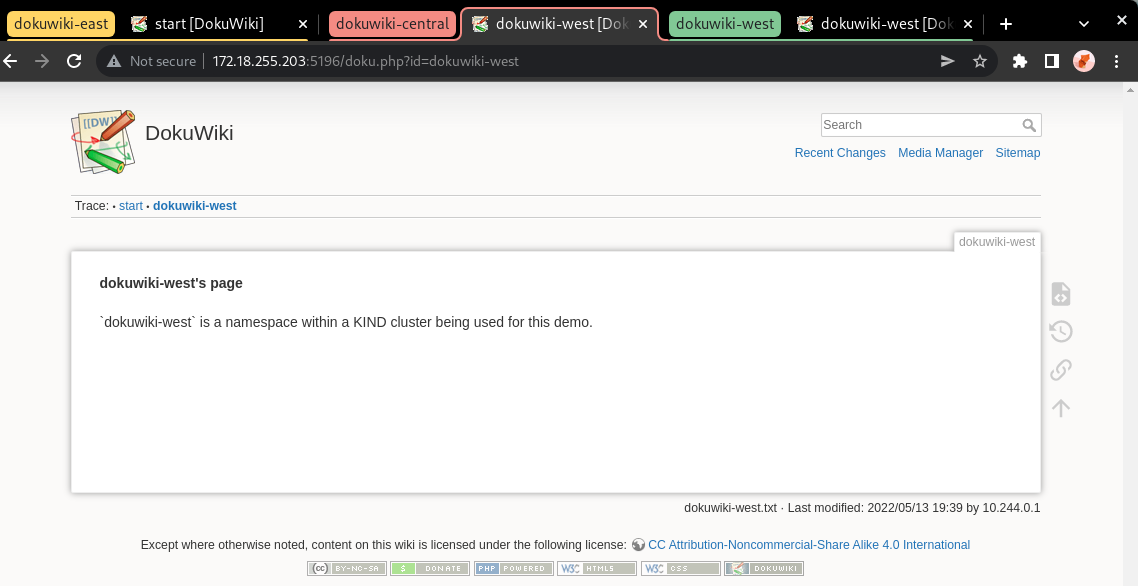
We can verify that this page has been synced to the DokuWiki instances in other namespaces
by going to the dokuwiki-central namespace and placing /doku.php?id=dokuwiki-west
at the end of its URL, like this:

Once you hit Enter, you should see the page we had just created in the dokuwiki-west namespace
appear in the dokuwiki-central tab:
And voila! You have just created a fully-connected Syncthing cluster in Kubernetes using VolSync, and made use of it to synchronize data across a distributed application.